Keeping your keyboard clean is super important for its longevity. Dust and crumbs can sneak in between the keys, making it sticky and uncomfortable to use. Luckily, cleaning your mechanical keyboard doesn't have to be a big hassle. Here are some easy steps to keep it looking fresh and working smoothly.
Start by unplugging your keyboard. Safety first! Once it’s unplugged, turn it upside down and give it a gentle shake. You’d be surprised at how much debris can fall out. If you have a can of compressed air, this is the perfect time to blast away dust from those hard-to-reach spots. Just keep the nozzle a few inches away from the surface to avoid any damage.
Next, grab a damp microfiber cloth and wipe down the keycaps and surface. For tougher stains, a little isopropyl alcohol on the cloth can do wonders. Avoid getting moisture into the switches, though. If you want to get serious about cleaning, consider removing the keycaps. Use a keycap puller, clean them individually, and then put them back when they’re dry. This is one of those essential mechanical keyboard maintenance tips you’ll thank yourself for later!
Finally, regular maintenance is key to a long-lasting keyboard. Aim to clean it every few weeks. It’ll make a noticeable difference in how it feels and functions. Following these simple steps will keep your mechanical keyboard in top shape, so you can enjoy every click and clack for years to come.
Lubrication for Smooth Key Presses
When it comes to making your mechanical keyboard feel like new, lubrication can be a game changer. It helps reduce friction and gives you that smooth, satisfying key press everyone loves. A little bit of lube goes a long way in improving your typing experience. So if you want to keep your keyboard in tip-top shape, follow these simple mechanical keyboard maintenance tips.
First off, pick the right lubricant. You’ll want something designed specifically for keyboard switches. DIY options like grease or oil can work, but they often turn sticky over time. Stick to products like Krytox or Tribosys, which are made just for this purpose. They’re easy to apply and won’t gum up your switches.
Next up is the application process. It's not as scary as it sounds! Start by taking your keyboard apart carefully—don’t rush this part. Remove the keycaps and push out the switches. You want to apply a tiny drop of lubricant to the slider and spring inside each switch. If you’re feeling adventurous, you can take the time to lube each stem, but even a little goes a long way. Just make sure not to overdo it!
After you’ve lubed the switches, reassemble your keyboard and test it out. You’ll notice a difference right away. It’s quieter, smoother, and just feels nicer to type on. Regular lubrication should be part of your mechanical keyboard maintenance tips to keep your gear feeling fresh for a long time. So, don’t skip this step—it makes a noticeable difference!
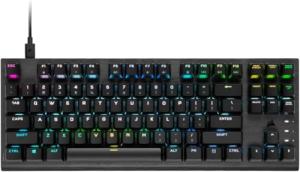
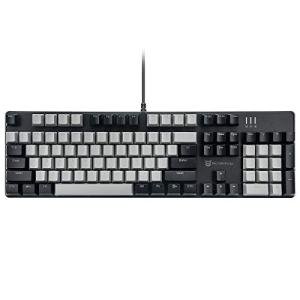
Corsair K60 RGB TKL Gaming Keyboard with OPX Switches
Experience lightning-fast response and stunning RGB lighting in a compact design that fits any gaming setup
Product information
$48.95 $42.95
Product Review Score
4.9 out of 5 stars
121 reviewsProduct links
Switch Replacement Made Easy
Switch replacement can sound intimidating, but it’s easier than you might think. Whether you want to swap out a single switch or jazz up your whole keyboard, the right approach makes all the difference. Plus, you get to customize your typing experience, which is pretty cool!
First, gather your tools: a keycap puller, a switch puller, and a soldering iron if you're dealing with soldered switches. For hot-swappable switches, life is a breeze. Just pop off the keycaps, use the switch puller, and yank those old switches out. Installation is just as simple—slide in the new switches and put your keycaps back on.
If you’re dealing with non-hot-swappable switches, it’s time to get a little more hands-on. You’ll need to desolder the old switches first. This part requires a steady hand and some patience. Don’t worry; plenty of tutorials are available to guide you through it. Once you’ve got the old switches out, reverse the process for the new ones.
One bonus tip from the Mechanical Keyboard Maintenance Tips playbook: make sure you clean out any dust and debris while you've got everything apart. A clean keyboard will perform better and last longer. Keeping it tidy is just as important as those new switches!
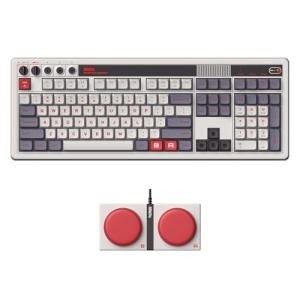
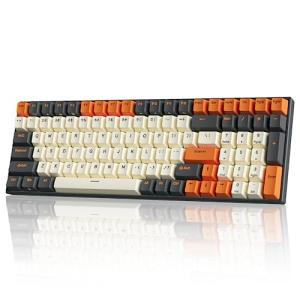
8Bitdo Retro 108 Wireless Mechanical Keyboard
Experience the nostalgia of retro gaming with this modern wireless mechanical keyboard
Product information
$119.99
Product Review Score
4.56 out of 5 stars
92 reviewsProduct links
Proper Storage Tips for Your Keyboard
Keeping your mechanical keyboard in top shape requires more than just cleaning it regularly. Proper storage is key to ensuring its longevity. When you’re not using your keyboard, think about how and where to store it to keep it looking and feeling great.
First off, always unplug your keyboard when you're done using it. This helps prevent accidental damage and keeps the keys from getting pressed while it's in storage. If you have a keyboard that lights up, unplugging it will also save your battery life. If you're putting it away for a long time, consider wrapping the cable neatly to avoid tangling.
Next, choose a safe storage spot. A drawer or a dedicated shelf works well. Avoid damp areas or direct sunlight, as moisture and heat can mess with your keyboard's components. If you’re really concerned about dust, using a microfiber cloth to cover your keyboard can help protect it when it’s not in use.
Lastly, think about using a keyboard case or pouch. This might seem like an extra step, but it adds a layer of protection against accidental spills and impacts. It’s especially useful if you plan to travel with your keyboard. These simple mechanical keyboard maintenance tips make a huge difference in keeping your keyboard in the best condition possible, so follow them closely!